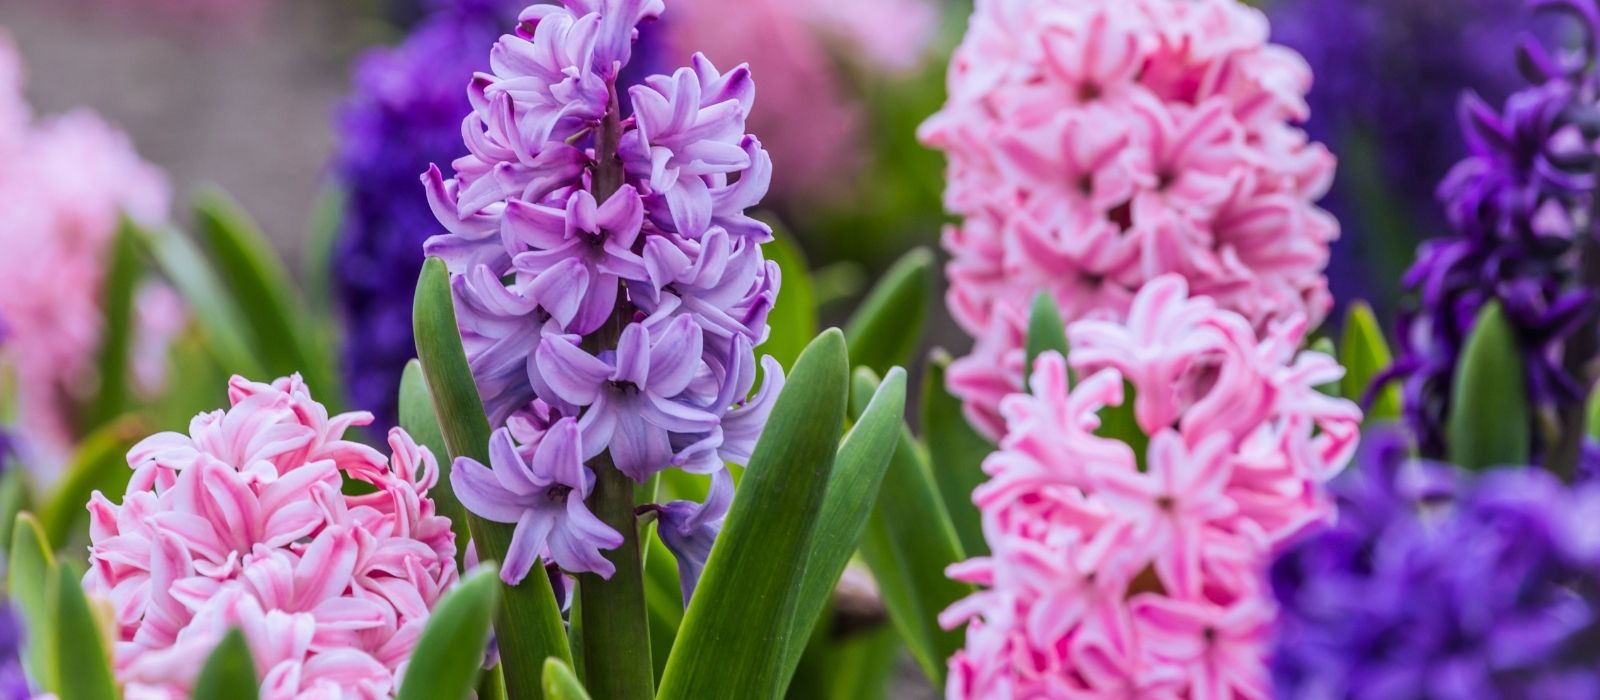
Steps for Growing Hyacinth Bulbs in a Glass Jar
Prepare the Jar
Fill the jar with water, ensuring the water level is just below the bulb's base.
Make sure the bulb does not touch the water, which can cause it to rot.
Position the Bulb
Place the Hyacinth bulb in the neck of the jar, with the pointed end facing up and the flatter end facing downwards.
Cold Storage
Put the jar in the fridge for around eight weeks. Make sure to top up the water if necessary.
Keep the bulb away from fruit and vegetables to avoid growth issues caused by the ethylene gas they emit.
Check Root and Shoot Growth
After about eight weeks, check the bulb. By this time, the roots should have developed, filling most of the jar, and the shoot should be about 3-4cm tall.
If the roots are not fully developed, keep the bulb in the fridge for a few more weeks.
Move to a Dark Spot
Once the bulb is ready, remove it from the fridge and place the jar in a dark position. Over the next 3-4 weeks, gradually move it into brighter, warmer areas of your home.
Avoid too much light or warmth at this stage to prevent the flower stem from growing too weak and floppy.
Enjoy the Blooms
After around five weeks, your Hyacinth will be in full bloom, filling your home with a lovely fragrance. Ensure it’s not placed in direct sunlight or a hot spot, which will shorten the flowering period.
Post-Flowering Care
Once the Hyacinth has bloomed, plant the bulb in the garden. It will take a couple of seasons for the bulb to recover from its forced flowering.
If you’re interested in growing your own Hyacinth at home, glass jars and various colours of Hyacinth bulbs are available. Enjoy the beauty and fragrance of these vibrant flowers in your home!


 Oderings Garden Centres