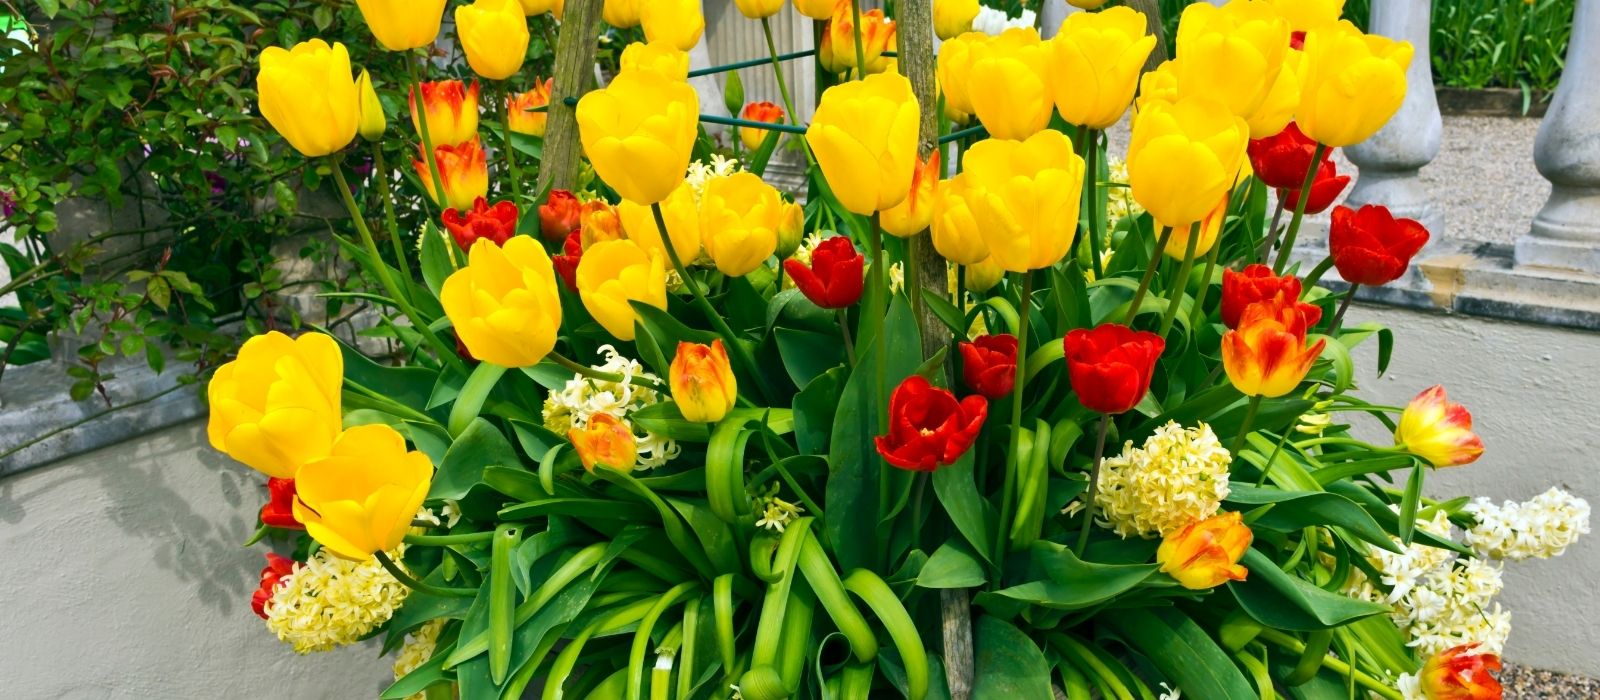
What Is a Bulb Lasagna?
A bulb lasagna involves planting spring-flowering bulbs in layers within one container. Think of it like a lasagna, where each layer represents a different type of bulb planted at varying depths. Larger bulbs like tulips and daffodils go at the bottom, while smaller bulbs such as muscari and crocuses sit closer to the top.
This method has several benefits
- Extended Bloom Time: You can enjoy weeks of continuous colour by choosing bulbs with staggered bloom times.
- Space Saving: Perfect for small gardens, patios, or balconies, this technique allows for a lush display in a compact space.
- Cost-Effective: Get more blooms per square metre of garden space.
How to Plant a Bulb Lasagna in 10 Easy Steps
- Choose the Right Container
Select a pot deep enough to accommodate several layers of bulbs, ideally at least 30-40 cm deep. Ensure the container has proper drainage holes to prevent waterlogging. - Prepare Your Soil
Start with a quality potting mix like Tui Bulb Mix, which provides the nutrients your bulbs need for strong growth. Add about 10-15 cm of soil to the bottom of the container. - Select Your Bulbs
Choose a mix of bulbs that vary in bloom times and heights. For example:- Base layer: Tulips or large daffodils.
- Middle layer: Hyacinths or small daffodils.
- Top layer: Crocuses or muscari.
- Plant the First Layer
Place the largest bulbs (e.g., tulips or daffodils) on the soil base, pointy side up, and plant at a depth twice the size of the bulb. Space them about 5-8 cm apart. - Add the Second Layer
Cover the first layer with 7-10 cm of soil. Add the mid-size bulbs (like hyacinths) on top, ensuring they are planted at the correct depth and spaced slightly closer than the first layer. - Plant the Final Layer
Add 5-7 cm of soil before planting the smallest bulbs (such as muscari or crocuses) at the top. - Top with Soil
Cover the topmost layer of bulbs with enough soil to ensure they are at the proper depth and the container is filled. - Water Thoroughly
Water the entire container to help settle the soil and activate growth. - Add Mulch
A light layer of mulch, such as pea straw or moss, helps retain moisture and regulate soil temperature. - Place and Wait
Position your container in a spot that receives ample sunlight. Now, all that’s left is to wait for spring to reveal its magic!
Why Bulb Lasagnas Work So Well in New Zealand
New Zealand’s mild winters and long springs provide the perfect climate for bulb lasagnas. By layering bulbs with staggered flowering times, you can enjoy vibrant blooms from early spring to late October.
Garden Expert Tip
- Timing Is Everything: Plant your bulbs in autumn (March to May) to give them time to establish before spring.
- Layer Compatibility: Ensure your bulbs have similar light and soil requirements to ensure uniform growth.
- Rotate Your Display: Place containers in a sunny spot during active growth and flowering, and then move them to a shaded area once the blooms fade to allow the bulbs to recharge for next year.
Enjoy the Rewards
Planting a bulb lasagna is a simple and rewarding project transforming any space into a springtime showcase. Whether working with a small balcony, patio, or a spacious garden, this technique lets you maximise your blooms and create a spectacular display.
So, grab your gardening gloves and bulbs this autumn and let the lasagna-making begin! Need bulbs or supplies? Visit Oderings or browse our range of garden products online—we’re here to help you make your garden shine.


 Oderings Garden Centres