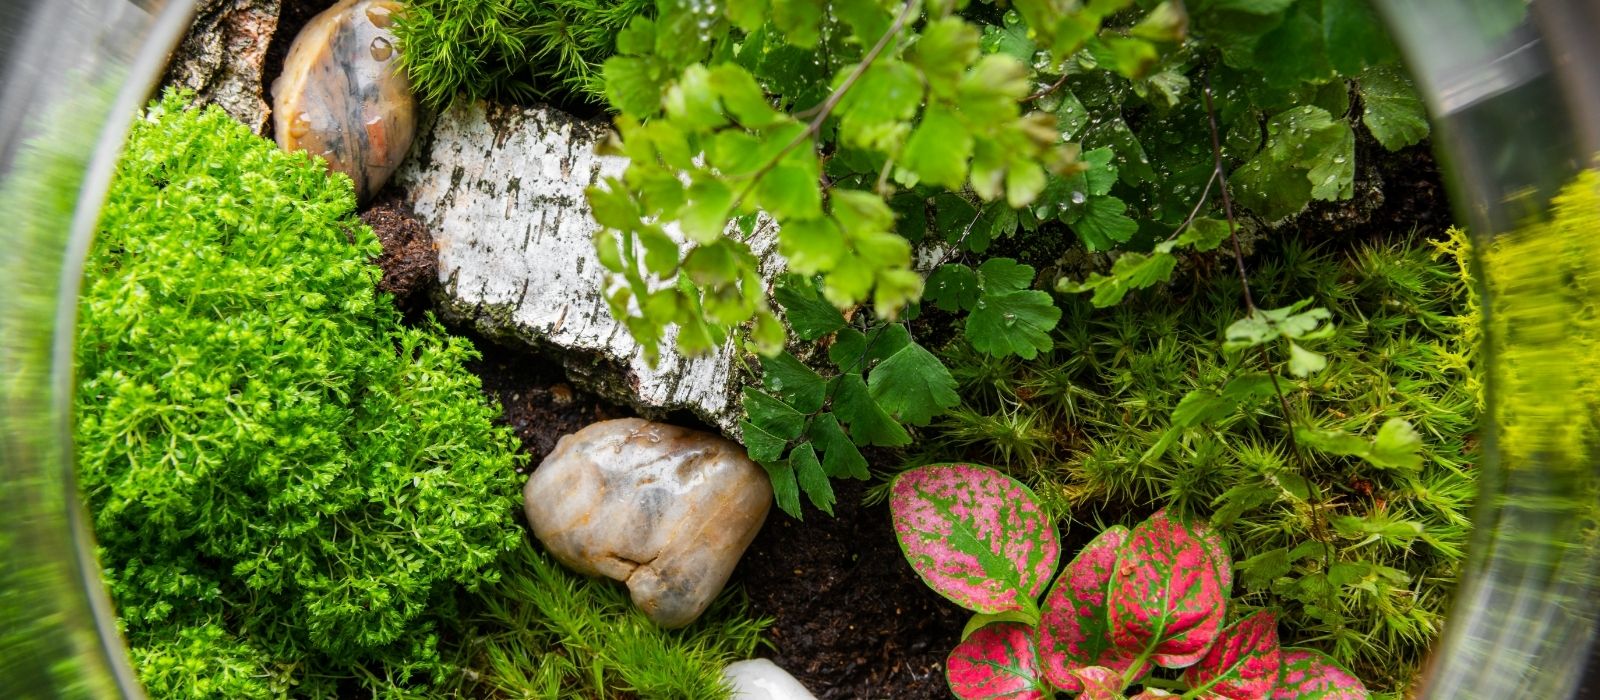
If you're looking to add some greenery to your space but don't have a lot of room, a DIY terrarium is the perfect solution. They are stylish and require minimal maintenance, making them ideal for busy people or anyone looking to test their green thumb in a manageable way.
A terrarium is a small, enclosed space where plants grow, usually in a glass container. It acts like a tiny greenhouse, letting in light and helping plants thrive in a controlled environment. Whether placed on a desk, windowsill, or table, a terrarium will bring life and charm to any space.
Materials You’ll Need
- Glass Terrarium (Ensure it has an opening for air circulation)
- Plants (Cacti or Succulents work best)
- Small Pebbles (for drainage)
- Yates Cacti & Succulent Potting Mix (specialised for these plants)
- Gardening Tools or Gloves (especially for prickly plants)
Tips for Choosing Plants
- Choose small plants that won’t overcrowd the terrarium. If the plants are touching the sides of the glass, they’re too large.
- Choose plants that thrive in low-humidity environments, such as cacti and succulents. A slight opening in the glass container helps air circulation while keeping the plants from becoming too humid.
Building Your Terrarium
Step 1: Prepare the Base
- Start by placing a layer of pebbles at the bottom of your glass terrarium. This layer should be about 1½ inches thick. The pebbles will ensure proper drainage, preventing water from sitting at the base of the soil and causing root rot.
Step 2: Add Potting Mix
- Next, add a layer of Yates Cacti & Succulent Potting Mix, about 6m thick. Make sure the soil is deep enough to accommodate the roots of your plants.
Step 3: Planting
Always wear gloves when handling cacti or any prickly plants to avoid injury.
- Remove the largest plant from its pot and carefully prune its roots. This helps the plant fit more comfortably in its new home.
- Dig a hole where you want to place the plant. The hole should be large enough to accommodate the plant's roots.
- Arrange your plants in the terrarium, starting from the back and working your way forward. This creates a visually pleasing design and gives you better access to the plants as you work.
Step 4: Add More Plants and Decorative Touches
- Continue adding your other plants until your terrarium is full. Once all the plants are in place, you can add a few more pebbles around them to make the terrarium look more polished.
- If you like, add fairy garden ornaments or small figurines to give your terrarium a whimsical touch.
Step 5: Maintenance and Care
After completing your terrarium, proper care is essential to keep it thriving:
- Water lightly every two weeks or whenever the soil appears dry. Be careful not to overwater.
- Place your terrarium in a bright area that receives indirect sunlight. Succulents and cacti love light but don’t thrive in direct sunlight.
Following these simple steps, you'll have created your self-sustaining mini garden. A DIY terrarium adds a touch of nature to your space while being low-maintenance and visually appealing. Enjoy your little green world.


 Oderings Garden Centres