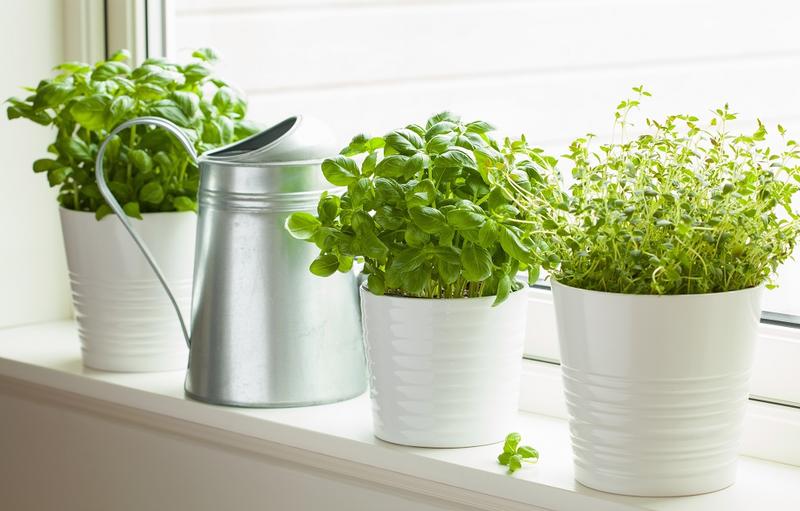
Make the most of your herbs and enjoy them in meals throughout the year by drying your excess. Drying herbs is a simple process, and today we are going to show you the hanging method.
Air drying works best with herbs that have a lower moisture content; this includes the easy-to-dry herbs such as bay, dill, marjoram, oregano, rosemary, summer savoury, thyme, sage and parsley. Some of the trickier herbs such as basil, tarragon, and mint may mould and discolour if not dried quickly because their moisture content is so high.
Equipment / Tools
Pruners or garden scissors
Airtight containers
Twine/string or rubber bands
Materials
Paper bags
Container labels
Paper towels
Harvesting
If you are using your own herbs, harvest in mid-morning before the sun burns away their natural oils. Give your herb stems a gentle rinse. If they are dirty or store-bought you need to remove any dirt or insects, and gently pat dry. Also remove any dry or diseased leaves at the same time.
Drying
Tie the herbs into bundles with twine or rubber bands. Be sure to keep the bundles small (about 2cm wide), for good air circulation around each bunch, which helps to avoid rot or mould. You can then gently wrap the bundles in muslin or paper bags, poked with several holes, to keep dust out. Hang the bundles upside down in a warm spot out of direct sunlight and rotate the bundles regularly for even air flow and light.
Storing
The leaves are ready when they feel dry and crumbly, which can take 2 to 3 weeks depending on your climate. When the bundles are fully dry, remove the muslin/paper bag. You can store herbs un-bunched, on their stems, or strip the leaves and grind them down. Store your herbs in air-tight containers and place in a cool, dark, dry location. Remember to label and date your containers. Your new dried herbs will have the most flavour if used within a year of drying.


 Oderings Garden Centres