Creating Your Own Bonsai
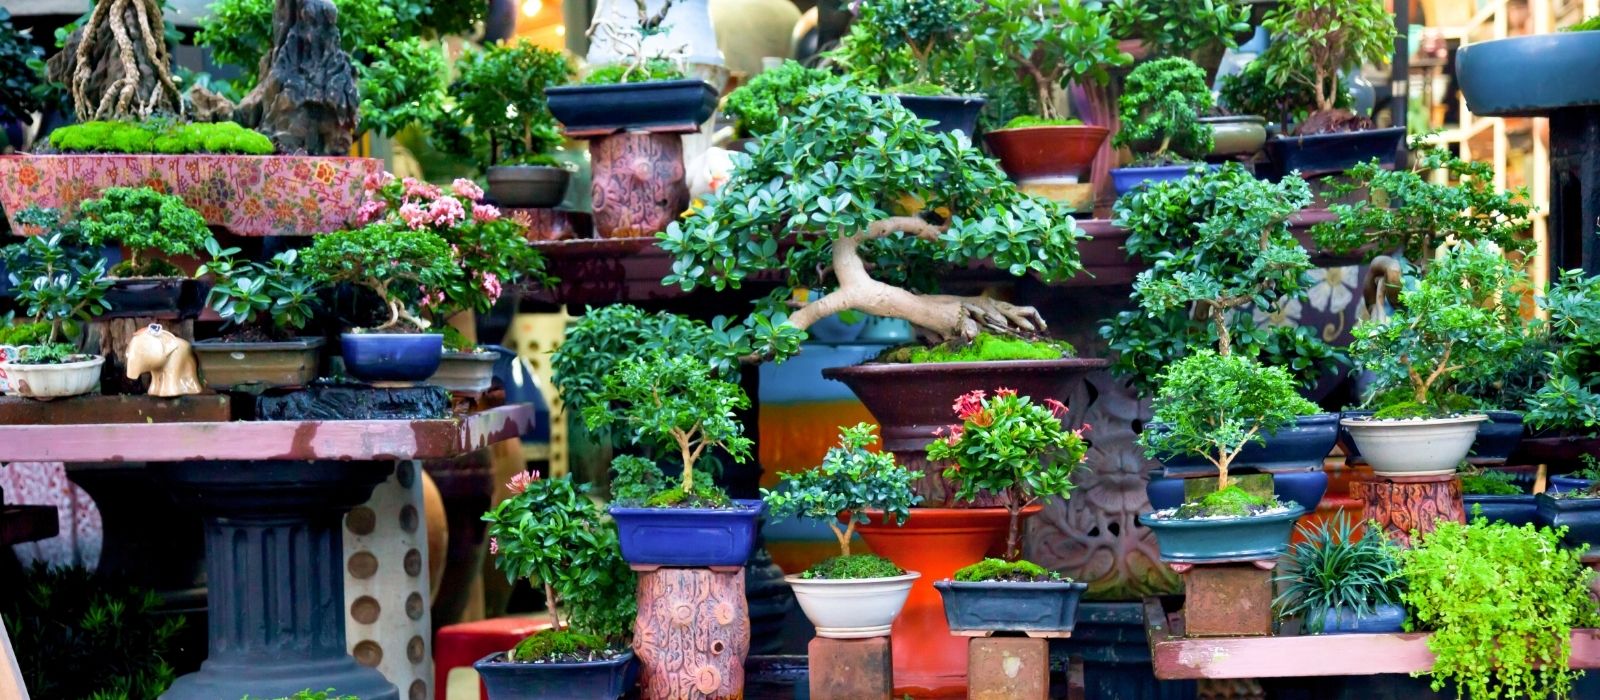
Bonsai can be potted in autumn or spring. For beginners choose a plant like Chamaecyparis minima. The informal upright style is perfect for beginners, and I recommend starting with a small tree (20-30cm), one with flexible branches, radiating roots, and a thick trunk.
What You'll Need
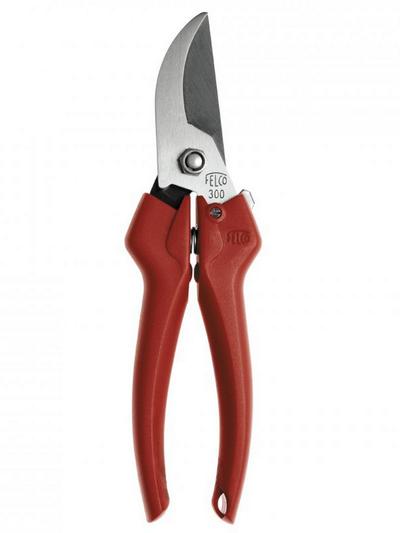
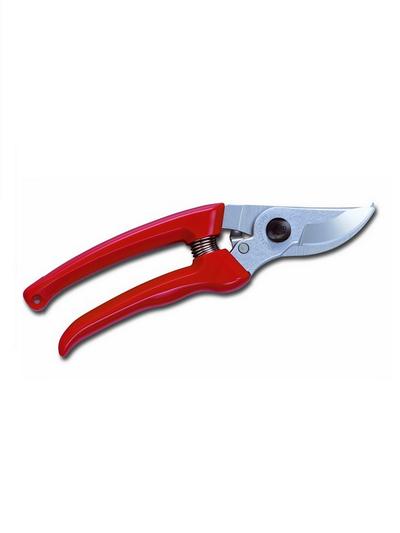
- Secateurs and garden scissors
- Wire cutters
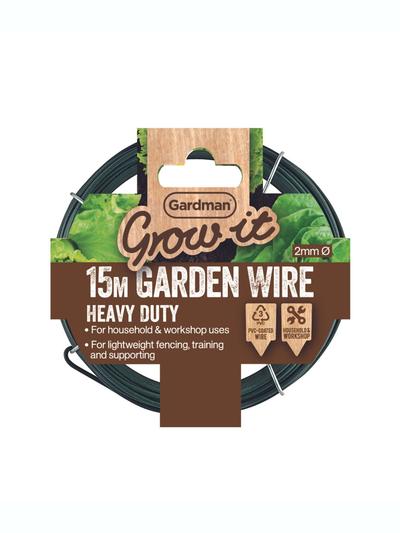
- Aluminum wire (in various thicknesses)
- Chopsticks
- Wire gauze
- Bonsai pot
- Your chosen plant
- Moss or pebbles (for decoration)
- Potting mix (Oderings ‘Shrub & Tub’ works well) and gravel chip
- Marker (to identify the front of the tree and key branches)
- A small branch from a garden shrub (for practice)
Step-by-Step Guide
- Preparing the Tree:
- Gently uncover surface roots at the base to give the tree an aged appearance.
- Decide on the style of your tree—informal upright is a great choice for beginners.
- Wiring the Tree:
- Begin by wiring a branch one-third of the way up the tree. Trim away any lower branches.
- Practice wiring on a cut branch from your garden. Secure the wire at a 45-degree angle, ensuring it’s neither too tight nor too loose.
- Pruning and Shaping:
- Mark the front of the tree and prune any unwanted branches.
- Wire the trunk first by cutting the wire 1½ times longer than the trunk. Shape the trunk, then move on to the branches.
- Wire the branches in order: side branches first, then the back branch (shorter for depth), and opposite sub-branches.
- As you work up the tree, prune excess branches and arrange the remaining ones at different angles to create a tapering effect.
- Potting the Tree:
- Place wire gauze over the pot’s holes and thread wire for securing the tree.
- Loosen the roots with chopsticks, leaving the root ball intact. Remove about one-third of the roots, keeping the feeder roots (white-tipped).
- Fill the pot with a mix of Oderings ‘Shrub & Tub’ and gravel chip. Position the tree slightly off-center and tie it in place with the wire.
- Add more soil to secure the tree, then gently uncover the surface roots for an aged look.
- Finishing Touches:
- Add moss around the surface to help retain moisture and enhance the natural aesthetic.
- Water the tree well.
With patience and attention to detail, your bonsai will grow into a beautiful, tapered tree with pads of foliage as it matures. Each bonsai is unique, and with time, it will become a living work of art to be admired for years to come.


