Planting
Step 1. Choose a location. Most fruit trees need at least six hours of direct sunlight, so the best location is north-facing.
Step 2. Dig a hole as deep as the root ball and 2-3 times as wide as the root ball.
Step 3. Loosen tree roots
Step 4. Mix compost and additional minerals into the soil extracted from the hole.
Step 5. Place the tree in the centre of the hole, and plant it at the same depth it was in its bag or container.
Step 6. Hold the tree upright and fill in with soil around the root ball. Firm gently by standing on the backfilled soil.
Step 7. Stake the tree to prevent wind rock while it’s getting established.
Step 8. Water well. The goal is not just to water the roots but to wash all the soil particles into the air gaps around the roots.
Pruning vs. Training
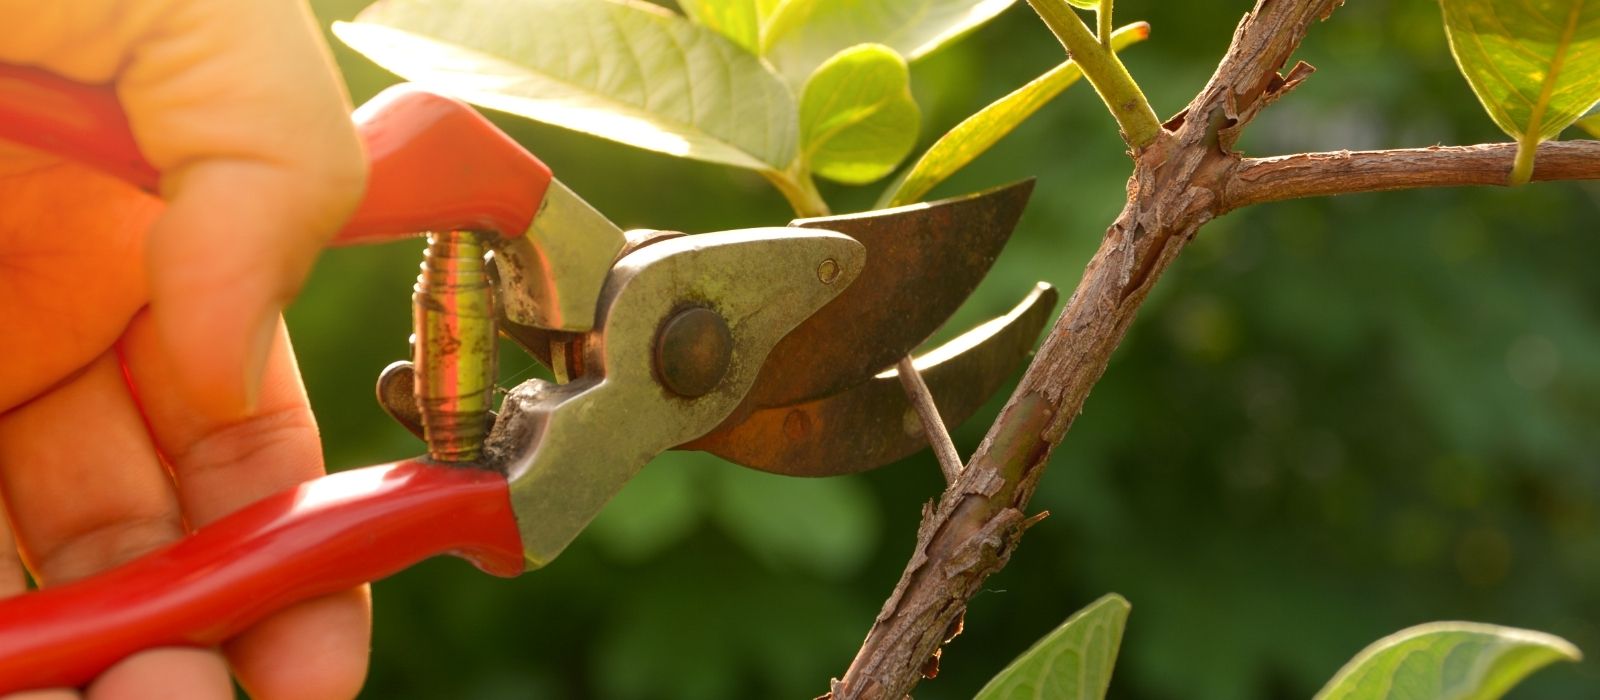
Historically, fruit tree form and structure have been maintained by pruning. Tree training is a much more efficient way to develop form and structure. Pruning removes a portion of the tree to correct or maintain tree structure. Training is a relatively new practice in which tree growth is directed into a desired shape. Training young fruit trees is essential for proper tree development. It is better to direct tree growth with training than to correct it with pruning. Training includes summer training, summer pruning, and dormant (winter) pruning. The goal of tree training is to direct tree growth and minimise cutting.
Dormant vs. Summer Pruning
Dormant pruning increases the tree's vigour and vegetative growth, which is usually undesirable. Pruning should begin as late in the winter as possible but before sap flows. Summer pruning normally starts after vegetative growth is several centimetres long, with the removal of unwanted shoots. Main shoots and branches should be encouraged to grow using weights and ties where required. Remove or trim back new growth to promote the tree's desired shape.
Pruning to Shape
There are 3 main types of pruning: Central Leader, Open Centre/Vase and Espalier.
Central Leader
A central leader tree has one main, upright trunk with whorls of branches, usually beginning 60–90cm above the ground, then again, every 45–60cm up the trunk. The shape of a central leader tree is like that of a Christmas tree, where the lowest branches are the longest, and the branches get shorter higher up the trunk. Click here to watch our How-to Video.
Open Centre/Vase
An open centre or vase training has an open vase system; the leader is removed, and three to five major limbs are developed as the tree's basic shape. This training system allows for light penetration. Click here to watch our How-to Video.
Espalier
Espalier is quite a different technique altogether. The trees are often grown against a wall, traditionally brick or plaster, but wires between posts can be used to support and train the tree. Using this method, the tree creates a part-wall, perfect for dividing areas of a garden or edging a kitchen potager, but sunlight and visibility are maintained. There are two main ways to train an espaliered fruit tree: fan or horizontal cordon.
How to Espalier
Step 1: Plan your pattern. When planning the pattern, consider the type of fruit tree, as it is important to know what age of wood the fruit is borne on.
Step 2: Choose a location. Most fruit trees need at least six hours of direct sunlight, so the best location is north-facing.
Step 3: Choose the plant and appropriate rootstock. As most espaliered trees are subjected to intense pruning and ‘braking’ of growth with training, semi-dwarf or vigorous rootstocks should be used.
Step 4: Prepare the support. You must fix horizontal wires to a structure that will support your espalier. These will be used to train the branches at desired angles. Wires can be spaced 30 to 60cm apart. With fences and walls, fix the wires using eyebolts to keep the plant away from the structure. The incorporation of turnbuckles is recommended to keep the wires taut.
Step 5: Plant your tree. Plant the tree about 30cm from the wall, fence, or post structure.
Step 6: Start training your tree.
Fan Espalier
This pattern is ideal for stone fruit, quinces, berries, citrus, figs and persimmons – types that produce fruit on new wood.
Step 1: In spring, cut the leader to where you want the lowest branches to form, usually on the first wire. Wires should be as close as 15cm apart.
Step 2: The tree will branch out from where you cut it back. Select the shoots required to make your fan-shaped pattern. Train these shoots up bamboo canes tied between the wires.
Step 3: Branches of the main limbs will produce the fruit. These branches must be removed, and renewal branches must be selected after the fruit has been produced.
Triple Horizontal Cordon
This pattern is ideal for apples, pears, and nashi, which are trees that produce fruit from older wood.
Step 1: In spring, cut the whip or leader to where you want the lowest branches to form – usually at the first wire.
Step 2: The tree will branch out from where you have cut it back. Select the best three sprouts and pinch off the rest.
Step 3: When two sprouts have grown to about 7.5cm long, make them horizontal arms and begin tying them along the bottom wire. Use material that will not damage or restrict the growing branches.
Step 4: Let a new leader sprout grow vertically to the next wire (you may need to use a bamboo stake) and cut it off again. Once this vertical limb has sprouted, repeat the process from step 3, selecting and tying horizontal sprouts, leaving one to grow vertically to the next wire.
Step 5: Attach them to the wires as the horizontal shoots grow. Frequently pinch offshoots that grow toward or away from the wall.
Click here to watch our How-to Video.
How to identify Fruiting Wood
Fruit trees produce fruit each year, but some flowers and fruit are new growth, and some are old growth. It is important to know that if you prune off the wrong branches, you may lose a year's fruit crop. Knowing which branches to prune allows you to prune fruiting branches shorter, which helps thin out the fruit to avoid biennial cropping. With yearly pruning, your tree will produce large, high-quality fruit yearly. Watch this video for more information.
Pruning Tips
Pruning fruit trees varies by variety; not all trees require annual pruning. Essential steps include removing diseased, damaged, or dead wood, cutting branches that cross or rub against each other, and eliminating those growing back into the tree's centre. Additionally, thin, overcrowded canopy areas and shape the tree according to its specific variety.
- Prune apples and pears each winter to promote a good fruit yield the next season. However, due to seasonal changes, pears may produce better every second season.
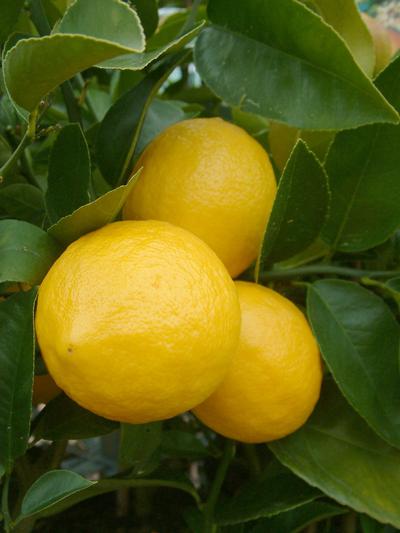
- Feijoas, olives, figs, Chilean guavas, and citrus should be pruned after harvest. In colder regions, wait until after frost periods to prune citrus. These trees do not require annual pruning.
- For nectarines, peaches, apricots, and plums, late summer pruning is ideal post-harvest, though early to mid-autumn is acceptable. If pruning in autumn, protect the cuts with water-based paint or pruning paint to prevent disease. Avoid winter pruning to prevent the spread of silver leaf disease, which these trees are susceptible to.
- Grapes and kiwifruit should be pruned back to 3-5 buds in winter, and any long new branches or canes should be tied back for shaping.
- Cherries and blueberries require minimal pruning, mainly for shaping and removing dead or diseased wood. Prune blueberries in winter as they fruit on one-year-old wood and again in summer to shorten vigorous shoots. Prune cherries in summer after fruiting, as they produce on one- and two-year-old wood, with fruit spurs lasting up to 10 years.
Articles from Kate Marshall at Waimea on Fruit Tree Pruning
How and when to prune pit fruit trees
Pruning a central leader and a modified central leader
Cordon espalier for apple and pear trees
https://www.stuff.co.nz/life-style/homed/garden/79922740/how-to-espalier-apple-and-pear-trees


 Oderings Garden Centres