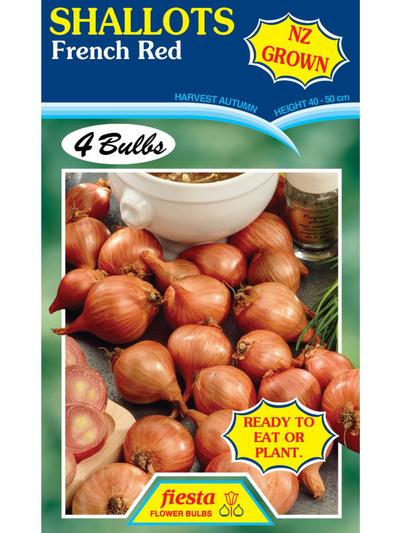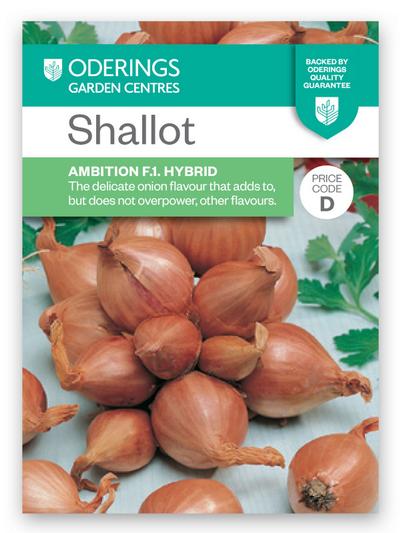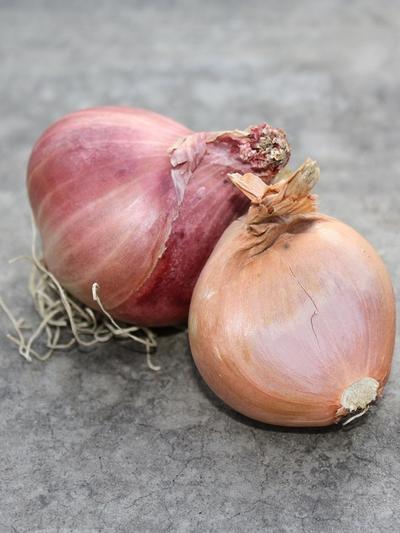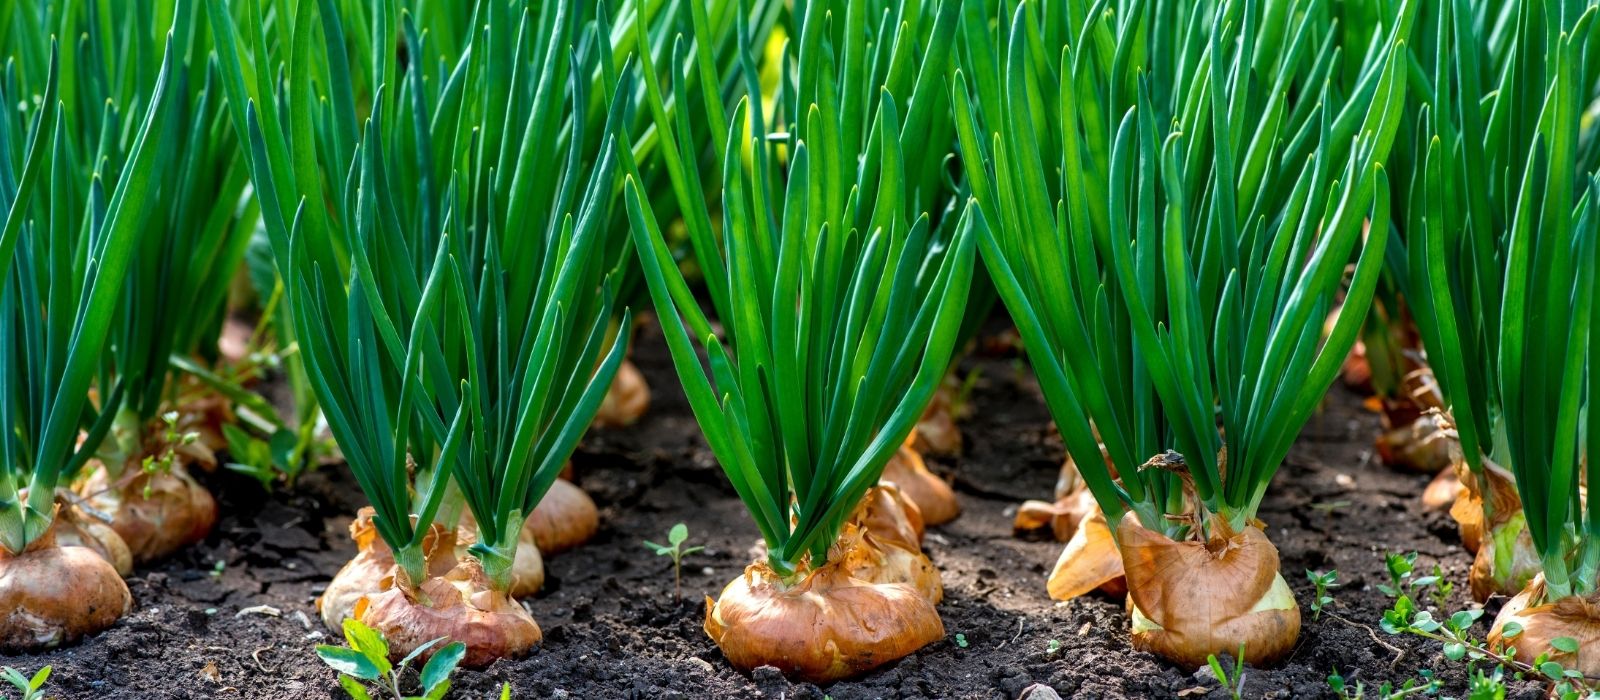
Shallots are a delicious and versatile addition to any garden, prized for their mild, sweet flavour. They are part of the allium family and are closely related to garlic, with the bonus of being relatively low maintenance for home gardeners. Shallots grow from bulbs that divide underground, and when their green shoots emerge, they can be harvested and used like chives. Here's how to plant and care for your shallots to ensure a bountiful harvest.
Planting Conditions for Shallots
Shallots, like garlic, thrive in well-drained soil rich in organic matter. A sunny spot is ideal; they need at least 6-8 hours of sunlight daily to grow successfully. Before planting, it’s crucial to prepare the soil properly:
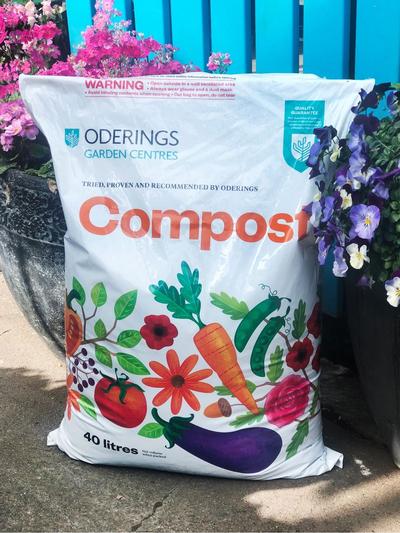
- Prepare the soil by incorporating compost or well-rotted manure to improve fertility and drainage.
- Add a slow-release, balanced fertiliser to ensure nutrient-rich soil for the developing shallots.
- Loose soil is important for bulb development, so avoid compacted soil, which can hinder growth.
Planting Shallots
Shallots, like garlic, are typically planted on the shortest day, and harvested on the longest day. This timing encourages proper bulb development and allows them to mature naturally.
Steps for Planting Shallots:
Space and Placement
- Plant shallot bulbs about 20 cm apart, leaving enough room for each bulb to grow into a full-sized plant.
- Ensure the pointed end of the bulb is facing upwards, with the flat base facing down into the soil. The pointed end is where the shoots will emerge.
- The bulbs should be planted deep enough so only the tops are visible above the soil surface. This usually means planting them around 2-3 cm deep.
Planting Depth and Care
- Shallots can be planted in rows or clusters, depending on available space. A raised bed or garden works well if you grow them in large quantities.
- After planting, water gently to settle the soil around the bulbs, but avoid soaking the ground as shallots don’t like waterlogged soil.
- If you're planting in colder regions, you might want to mulch lightly over the tops to protect the bulbs from frost, especially during the early stages.
Caring for Shallots
Shallots are relatively low maintenance, but there are a few key things to remember for optimal growth:
Watering: Shallots need consistent watering, especially during dry spells, but don’t let the soil become soggy. Over-watering can cause bulbs to rot, so ensure your soil is well-draining.
Weeding: Shallots grow best when weed-free, as weeds can compete for nutrients. Keep the area around your shallots clean, being careful not to disturb the shallow roots when weeding.
Feeding: You can feed your shallots with general-purpose fertiliser or a balanced organic fertiliser in early spring to promote healthy growth, but avoid excessive nitrogen, which can cause excessive leaf growth at the expense of bulb formation.
Harvesting Shallots
Shallots follow a similar growing cycle to garlic, with the harvest time determined by their maturity. Depending on the weather and growing conditions, they typically take 4-6 months to grow fully.
Signs of readiness: Shallots are ready to harvest when the tops of the plants begin to yellow and fall over. The bulbs should be mature, firm, and fully developed.
Pulling up: Gently lift the bulbs with a garden fork or trowel, taking care not to damage them.
Curing: Once harvested, lay the shallots in a well-ventilated, dry area to cure for about 2-3 weeks. This step is important for their preservation and will allow the skins to toughen up, making them easier to store.
Storing Shallots
Once the shallots are cured, they should be stored in a cool, dry, and well-ventilated location. A mesh bag or woven basket works well for storing them, as it allows air circulation. If cured properly, shallots can be kept for up to nine months.
Bonus Tip
Shallots tend to be self-replicating. If you leave a few bulbs in the ground, they will naturally divide, producing multiple bulbs over time, which can be harvested in the following season.
Shallots are a fantastic addition to the home garden, offering a mild onion flavour for a wide range of culinary uses. By planting them in well-drained, fertile soil and following the recommended care guidelines, you can enjoy a healthy crop of shallots year after year. Whether growing them in the ground or in containers, shallots are an easy-to-grow vegetable that will reward you with a bountiful harvest.


