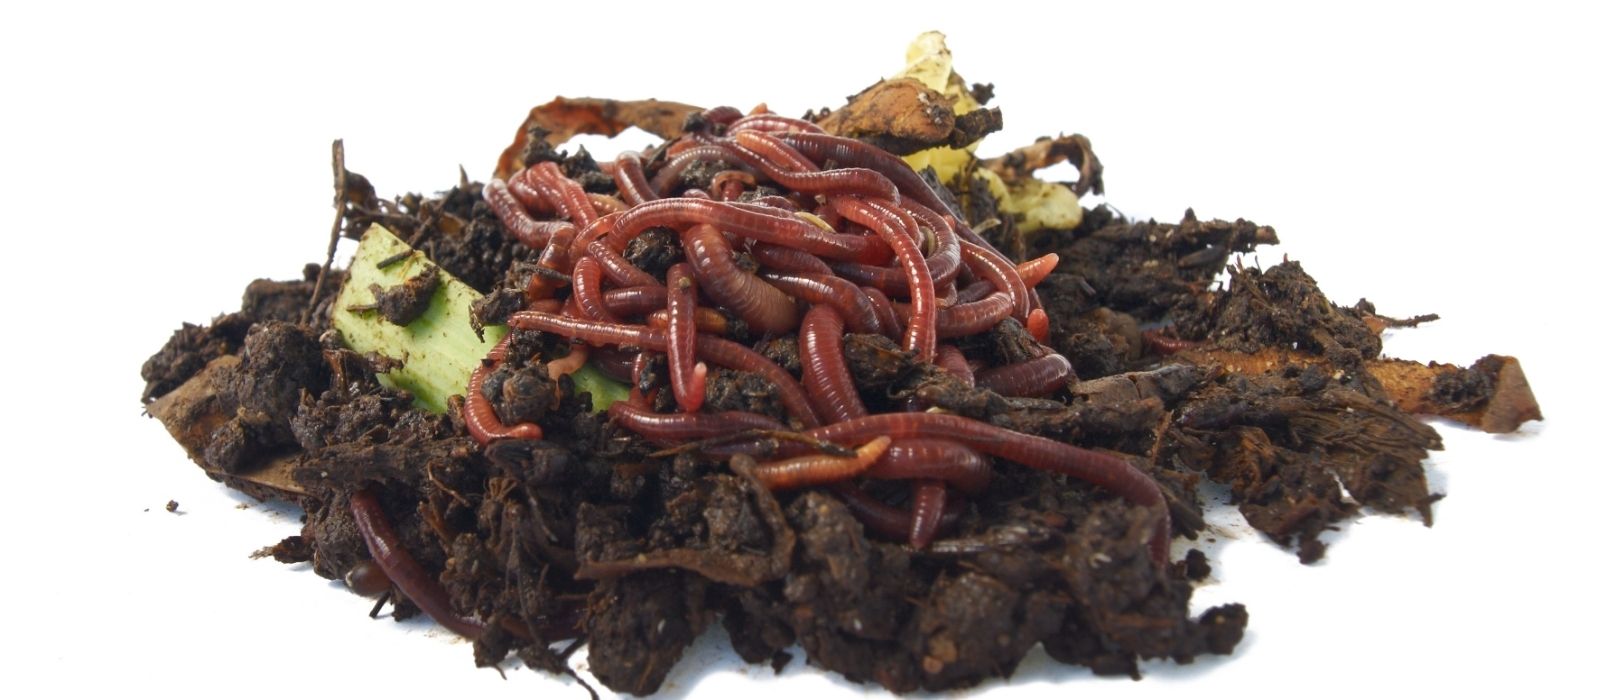
Which Worms Work in a Worm Farm?
Not all worms are suitable for worm farming. There are two main types:
- Composting worms (such as Tiger, Red, or Dendras) thrive in an organic environment like a worm farm. They feed on food waste and will breed in these conditions but won’t survive in the garden unless it’s heavily mulched.
- Earthworms, on the other hand, prefer soil and humus and do not like food waste, making them unsuitable for worm farms.
Worm Farm Set-Up
Worm farms, like the ones sold by Oderings, are often set up in levels for optimal efficiency:
Level 1: This is the collector tray where liquid fertiliser drains. Worms and food scraps should not be in this tray.
Level 2: The working tray. This is where worms live, containing bedding material (e.g., coir block soaked in water). Lay a piece of cardboard on the bottom, followed by the coir, and then spread the worms. When starting a new worm farm, Oderings recommends 1000 worms, but smaller quantities are also available. Once the worms are settled, cover the farm, and in about one week, you can start feeding them partially decomposed food scraps.
Level 3: Once food reaches the top of level 2, move some bedding and food from level 2 to level 3, allowing the worms to climb up to this next tray.
Level 4: This is the final level. Repeat the same process of adding new food and bedding at this level. By the time you reach level four, worms from level two will migrate, and you can use the contents of level two for your garden or to make new soil mixes.
Tips and Tricks for Successful Worm Farming
Feeding your worms: Give them chopped vegetables, coffee grounds, tea bags, eggshells, and rotting leaves. For a special treat while on holiday, a well-chopped pumpkin can keep them happy. Remember to fluff up the soil they produce to allow air to circulate.
Foods to avoid: Do not feed them citrus, meat, cooking oils, fats, rice, potatoes, onions, grass clippings with pesticides, or human waste.
Garden Lime: Add garden lime once a month (but not Dolomite Lime, which contains magnesium that can harm the worms). This helps maintain a neutral pH and aids in decomposition.
Sunlight and shade: Your worm farm should be in a place with morning sun and afternoon shade. A sheltered area or indoors is ideal.
Harvesting compost: When harvesting, create a pyramid of soil. The sunlight will drive the worms down, allowing you to take the compost without removing the worms.
Liquid fertiliser: Drain the liquid fertiliser from level 1 and dilute it with water at a 1:10 ratio. It makes an excellent natural fertiliser for plants as a foliage spray or soil drench.
Feeding amounts: Do not overfeed your worms. Keep the food layer in the working tray to a maximum of 2 cm deep.
Farm maintenance: The worm farm generally takes 12 months to work efficiently at all four levels. Worm populations double every few months, but baby worms take about three months to mature and will not eat much during that time.


